
How to install a wall sconce
The Ultimate DIY Guide: How to Install a Black Swing Arm Wall Sconce (Step-by-Step)

Whether you’re upgrading your bedroom, crafting the perfect reading nook, or adding stylish task lighting to your home office — the black swing arm wall sconce is a timeless, functional, and elegant choice. Unlike traditional ceiling fixtures, swing arm sconces offer adjustable illumination, space-saving design, and often come with plug-in or hardwired options.
In this comprehensive, beginner-friendly guide, we’ll walk you through every step of installing your black swing arm wall sconce. You’ll learn how to handle wiring, mounting, lampshade attachment, and even how to convert your fixture from plug-in to hardwired — all while keeping safety and aesthetics in mind.
Let’s get started — no electrician required!
🧰 What You’ll Need: Tools & Materials
Before you begin, gather these essentials:
- Black swing arm wall sconce kit (includes mounting plate, canopy, swing arms, butterfly screws, wire nuts, lampshade ring)
- Screwdriver (Phillips head recommended)
- Wire strippers (if hardwiring)
- Voltage tester (to confirm power is off)
- Ladder or step stool
- Pencil & level (for accurate mounting)
- Light bulb (LED recommended for efficiency)
- Optional: Drywall anchors (if not mounting into studs)
💡 Pro Tip: Always double-check that your fixture includes all parts. Missing a butterfly screw or wire nut can delay your project!
⚠️ Step 0: Safety First — Turn Off the Power!

Before touching any wires or metal parts:
- Locate your home’s circuit breaker.
- Turn OFF the power to the room or outlet you’ll be working near.
- Use a non-contact voltage tester to confirm wires are dead.
- Keep the breaker off until installation is complete.
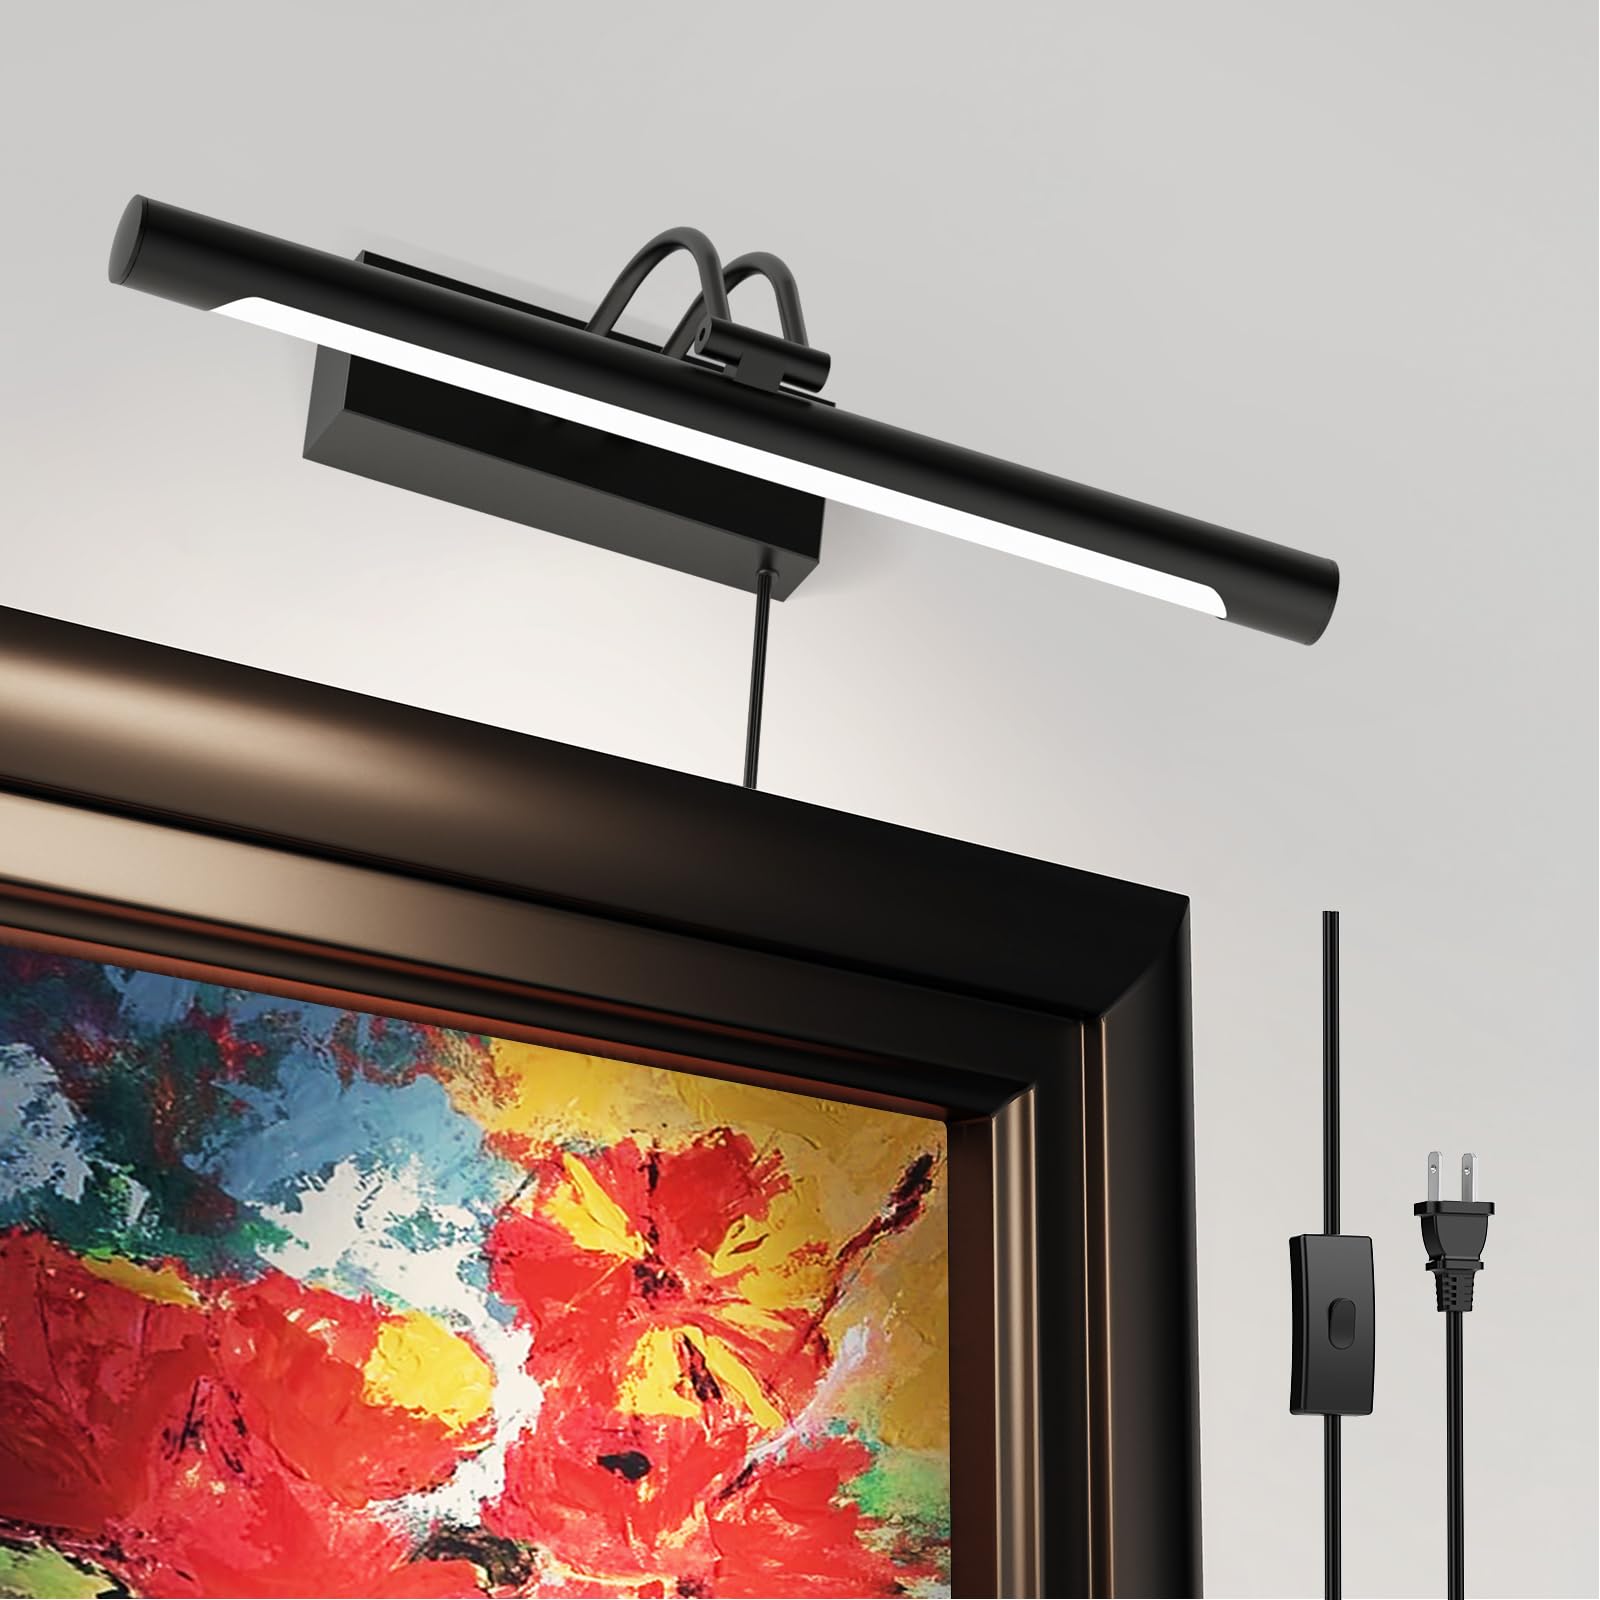
🔌 Plug-In vs Hardwired?
This sconce offers both options. Plug-in is easier for renters or non-electricians. Hardwired gives a cleaner look but requires connecting to in-wall wiring. We’ll cover both!
⚡ Step 1: Connect the Wires (Plug-In or Hardwired)
For Plug-In Models:
- Your sconce cord has black (hot) and white (neutral) wires.
- Match them to the corresponding wires inside the plug head:
- Black to black
- White to white
- Twist together clockwise and secure with wire nuts.
- Tug gently to ensure connection is solid.
- Tuck wires neatly into the fixture housing.
For Hardwired Installation:
- Strip ½ inch of insulation from your sconce’s black and white wires.
- Match to your in-wall wiring:
- Sconce black → House black (hot)
- Sconce white → House white (neutral)
- Sconce green/bare → House ground (green or bare copper)
- Secure each with wire nuts.
- Carefully tuck all wires into the electrical box.
🧭 Wire Color Code Reminder:
- Black = Hot (Live)
- White = Neutral
- Green/Bare = Ground Mixing these up can cause shorts or shocks — always double-check!
📐 Step 2: Mount the Base Plate to the Wall
- Hold the mounting plate against the wall where you want your sconce.
- Use a pencil to mark screw holes.
- Drill pilot holes if needed (especially in drywall).
- Insert drywall anchors if not screwing into studs.
- Attach plate with included screws — tighten halfway first.
- Use a level to ensure plate is perfectly horizontal.
- Once aligned, tighten screws fully.
📏 Height Tip: For bedside reading, mount the base so the bulb sits 40–48” above the mattress. For task lighting, position it 12–18” above eye level when seated.
🖼️ Step 3: Attach the Canopy & Finalize Arm Position
- Remove the two small bolts from the mounting plate.
- Slide the decorative canopy over the plate — it hides screws and wires for a clean finish.
- Reinsert and tighten the bolts to secure the canopy.
- Now, loosen the butterfly screws again to fine-tune your swing arm position.
- Adjust for reach, height, and direction — perfect for aiming light over a book or keyboard.
- Tighten screws firmly — ensure the teeth “click” into place for maximum hold.
🔄 Swing Arm Hack: Test the range of motion before final tightening. You want smooth adjustment without wobbling.
💡 Step 4: Attach the Lampshade & Install Bulb
- Loosen the three screws around the metal lampshade ring.
- Slide your chosen lampshade onto the ring — fabric, metal, or glass all work.
- Center the shade, then gradually tighten each screw in a star pattern (like a car wheel) to avoid warping.
- Screw in your light bulb — we recommend a 60W-equivalent LED for brightness + low heat.
- Optional: Add a smart bulb for dimming or color control via app.
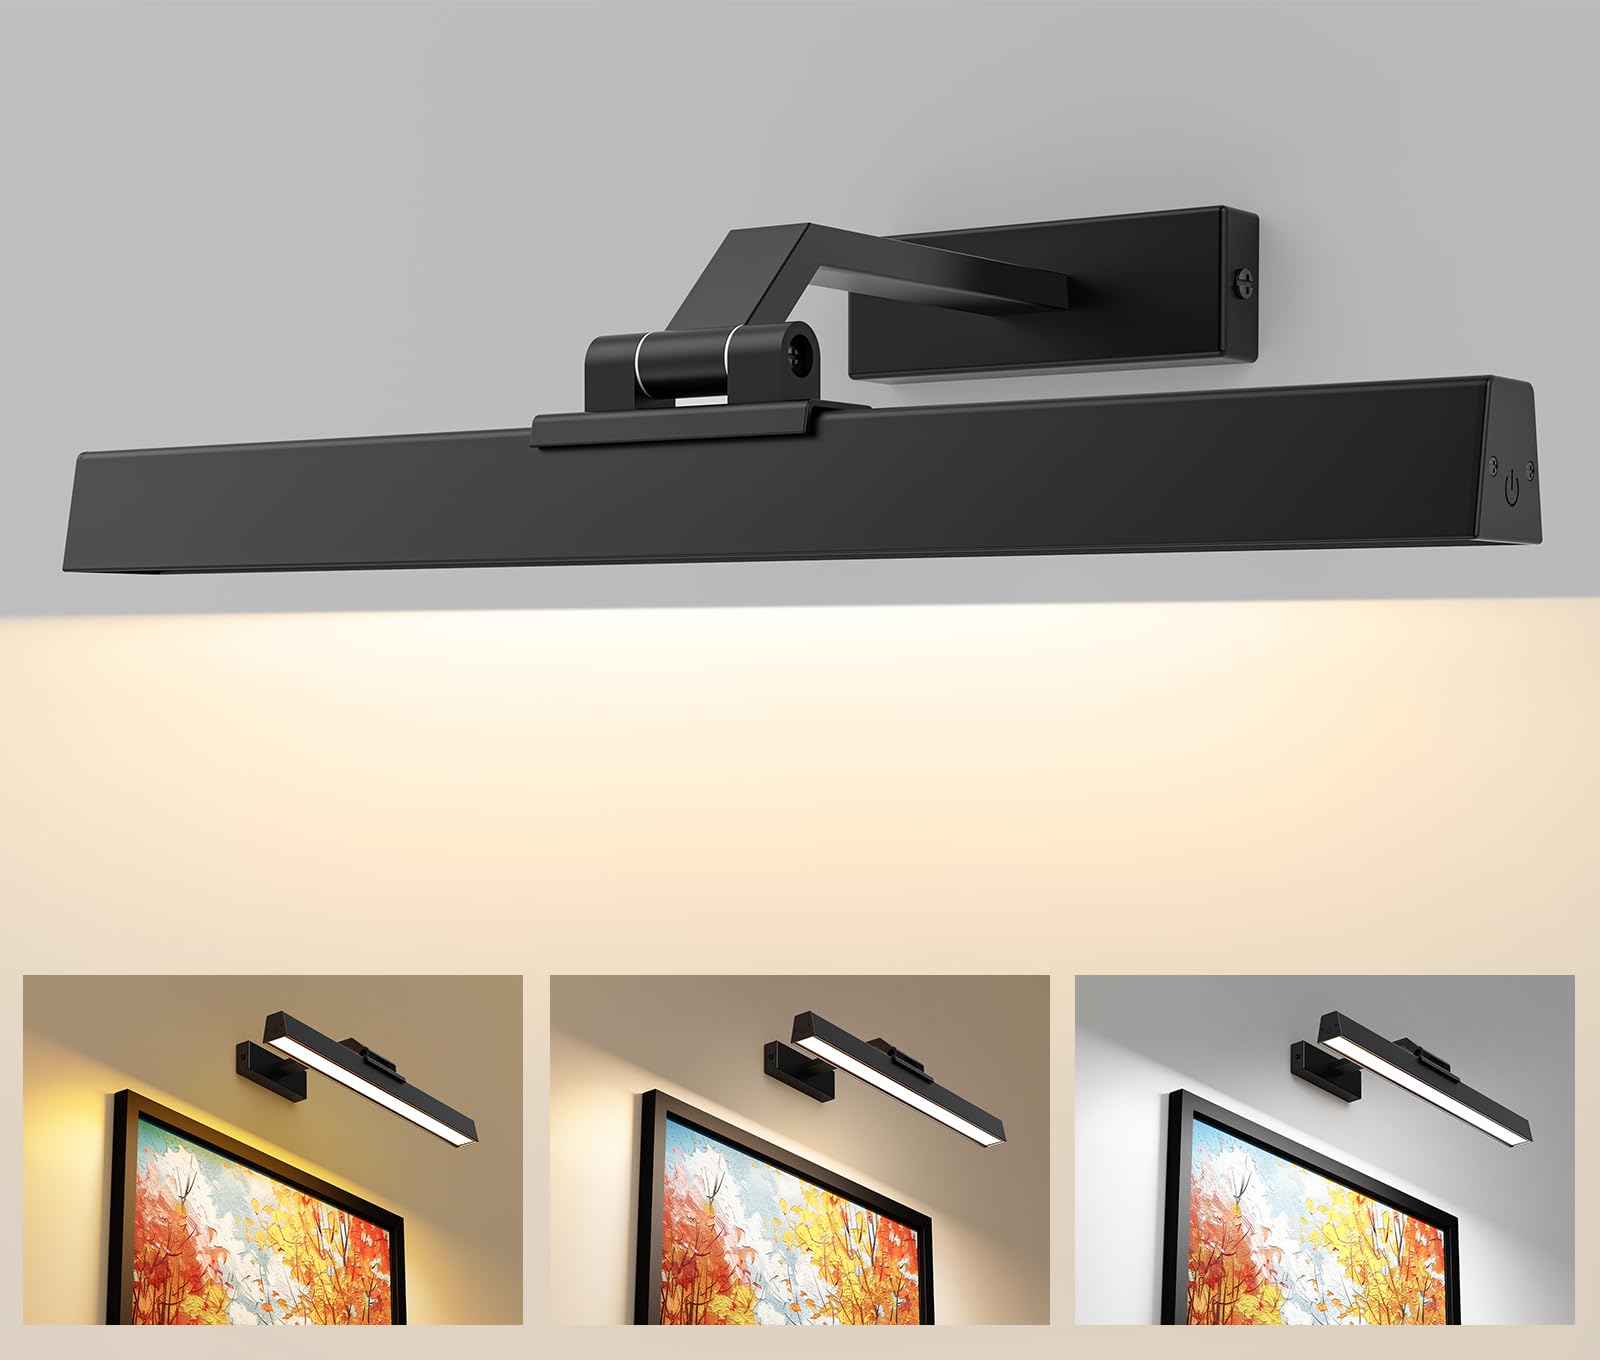
🌈 Lampshade Style Tip: A white or cream shade diffuses light best for reading. Black or metallic shades create dramatic, focused beams.
🔌 Step 5: Power On & Test Your Sconce
- Double-check all connections and screws.
- Turn the circuit breaker back ON.
- Plug in your sconce (if plug-in) or flip the wall switch (if hardwired).
- Test the light — adjust arm or shade if needed.
- Enjoy your new, perfectly positioned light!
✅ Troubleshooting:
- Light doesn’t turn on? Check wire connections and breaker.
- Flickering? Bulb may be loose or incompatible.
- Arm sags? Tighten butterfly screws or check for stripped threads.
🔁 Optional: Convert Plug-In to Hardwired
Want a seamless, professional finish? Converting to hardwired is easier than you think:
- Remove the plug from the cord using wire cutters.
- Strip the black and white wires (and ground if present).
- Follow Step 3 (Hardwired) to connect to in-wall wiring.
- Mount using the same plate and canopy — now no cord is visible!
- Control via wall switch for convenience.
🏠 Renter-Friendly Note: Keep the original plug! You can revert before moving out.
🎯 Why Choose a Swing Arm Wall Sconce?
Still on the fence? Here’s why this fixture is a winner:
- Space-Saving: Frees up nightstands and floor space.
- Adjustable Light: Direct illumination exactly where you need it.
- Style + Function: Modern black finish suits industrial, farmhouse, or minimalist decors.
- Easy Installation: No major electrical work needed for plug-in models.
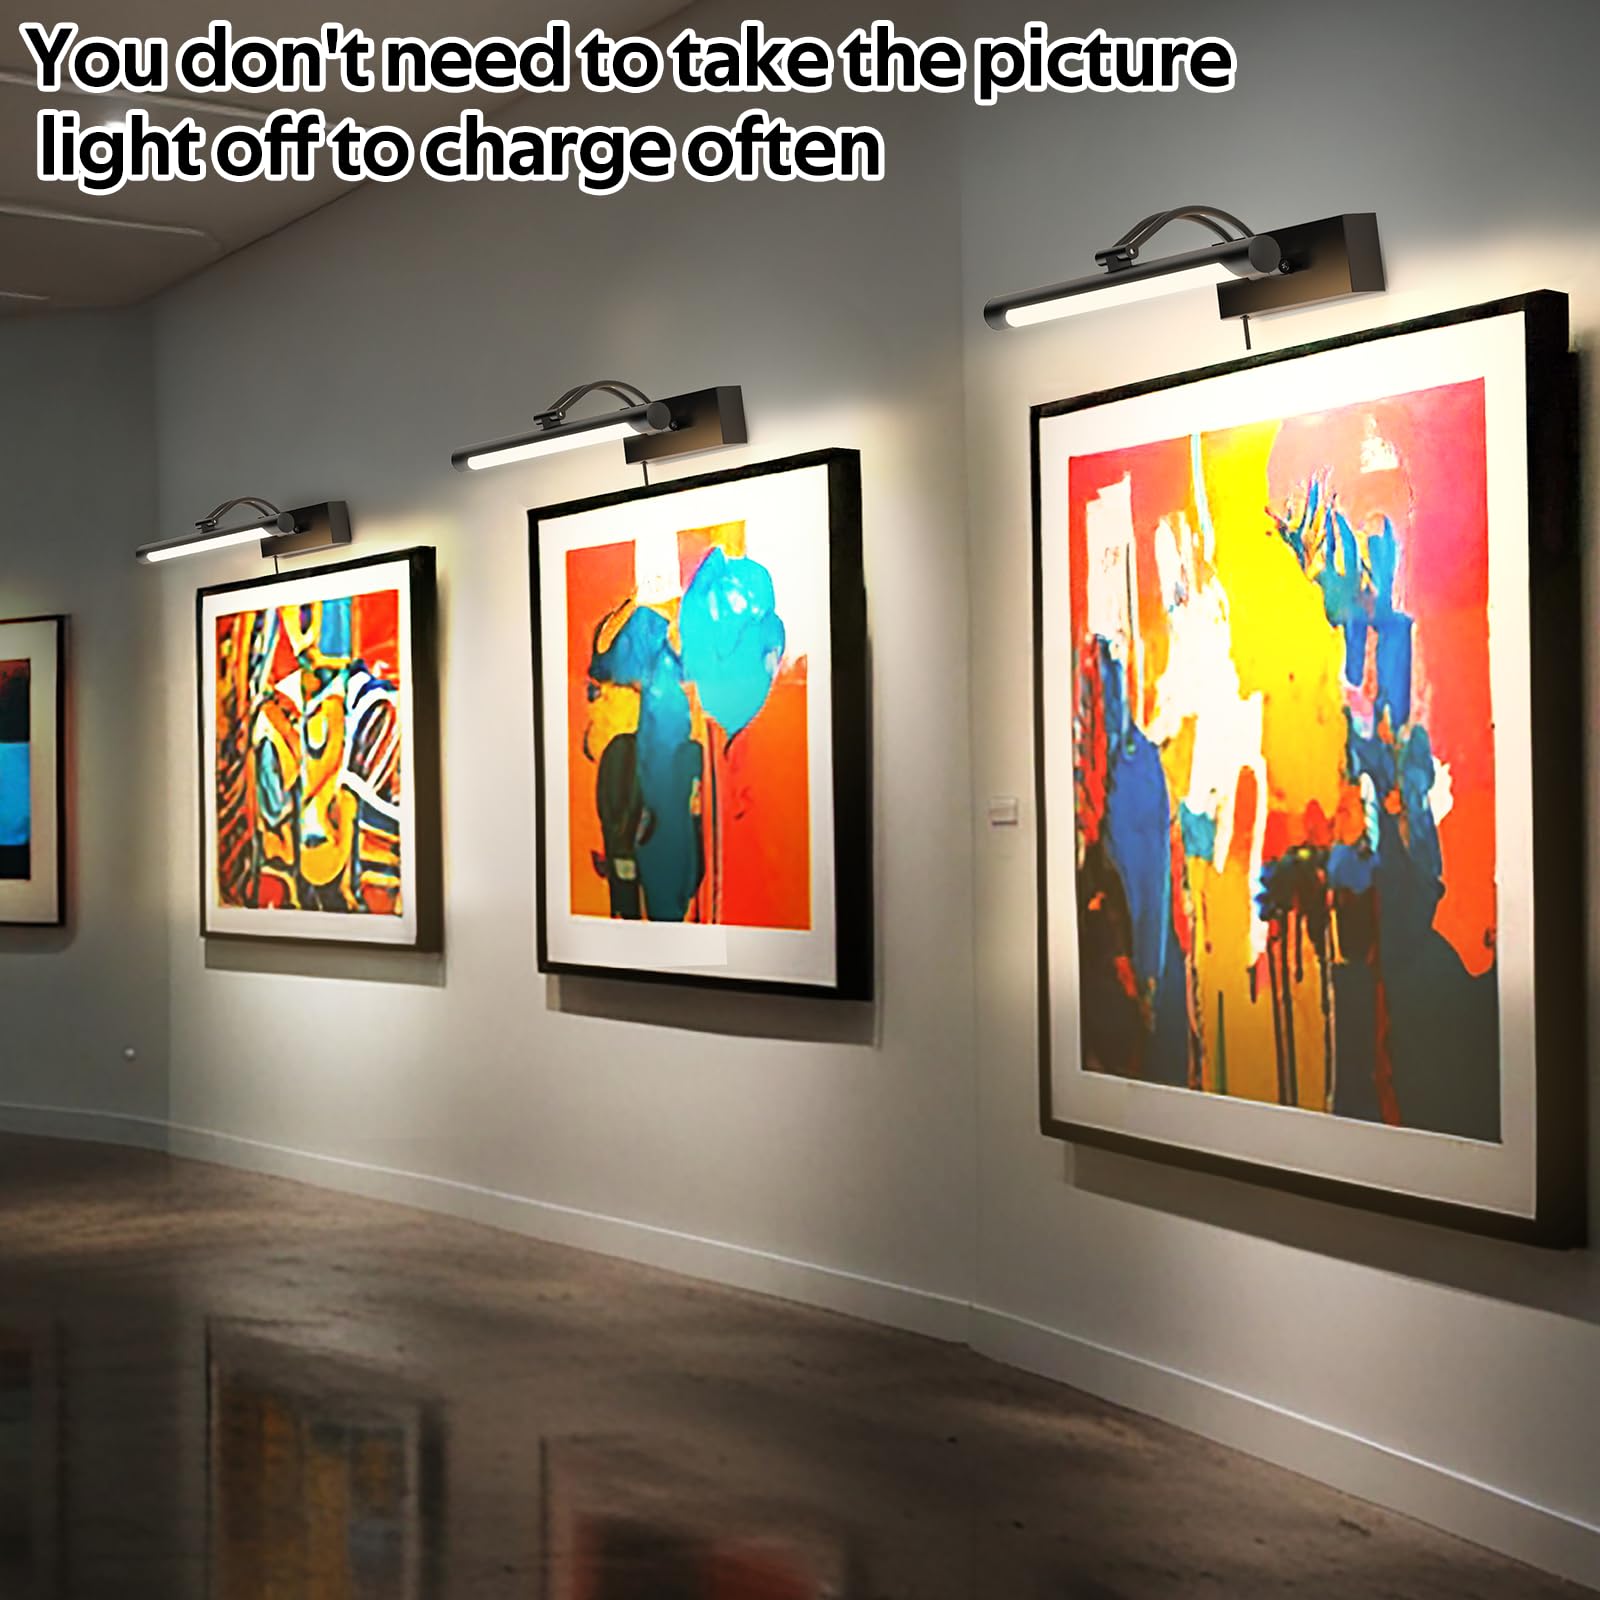
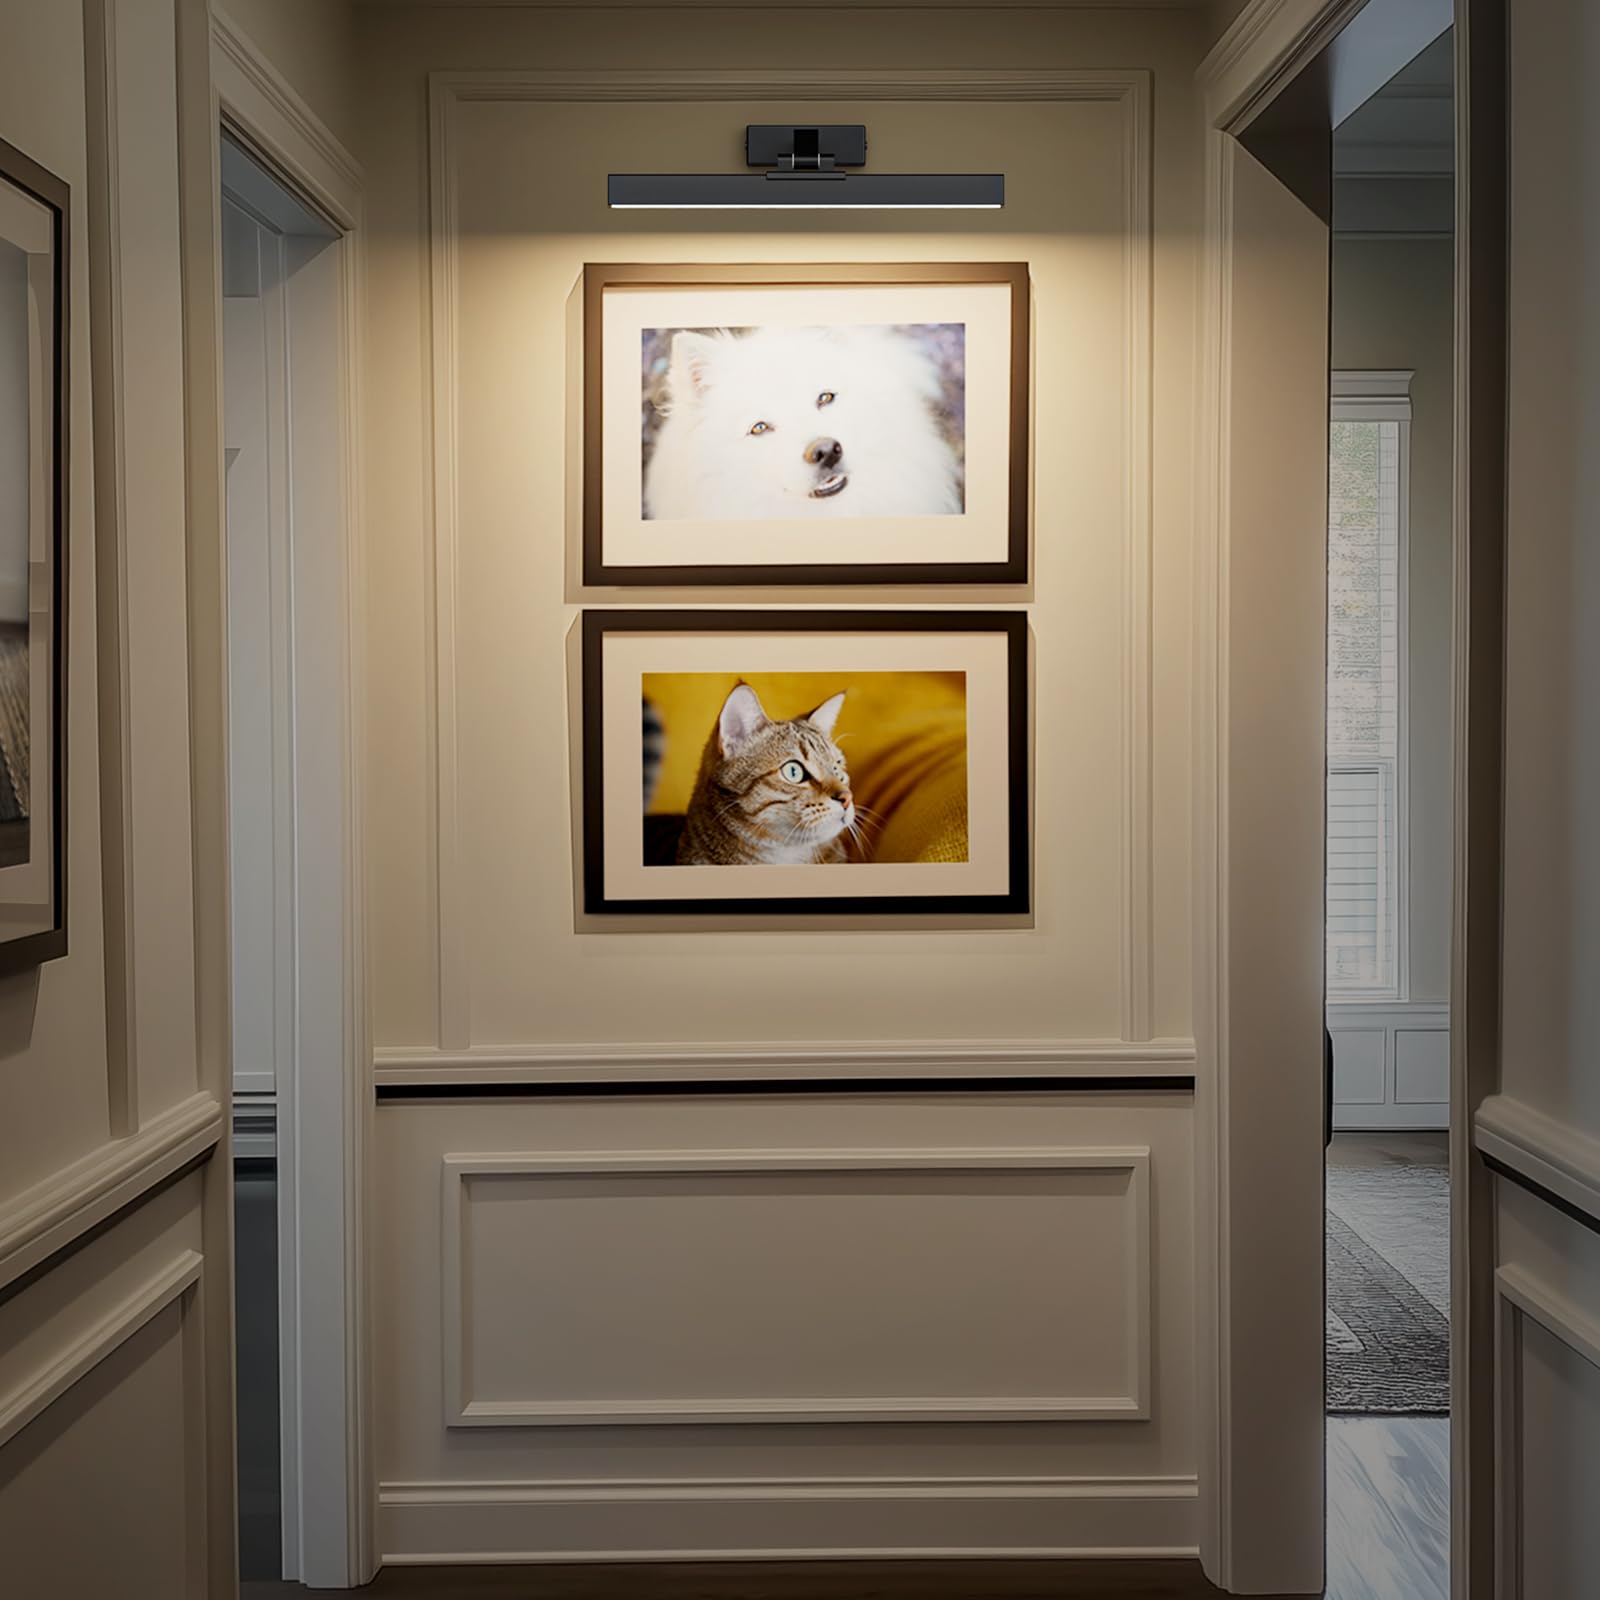
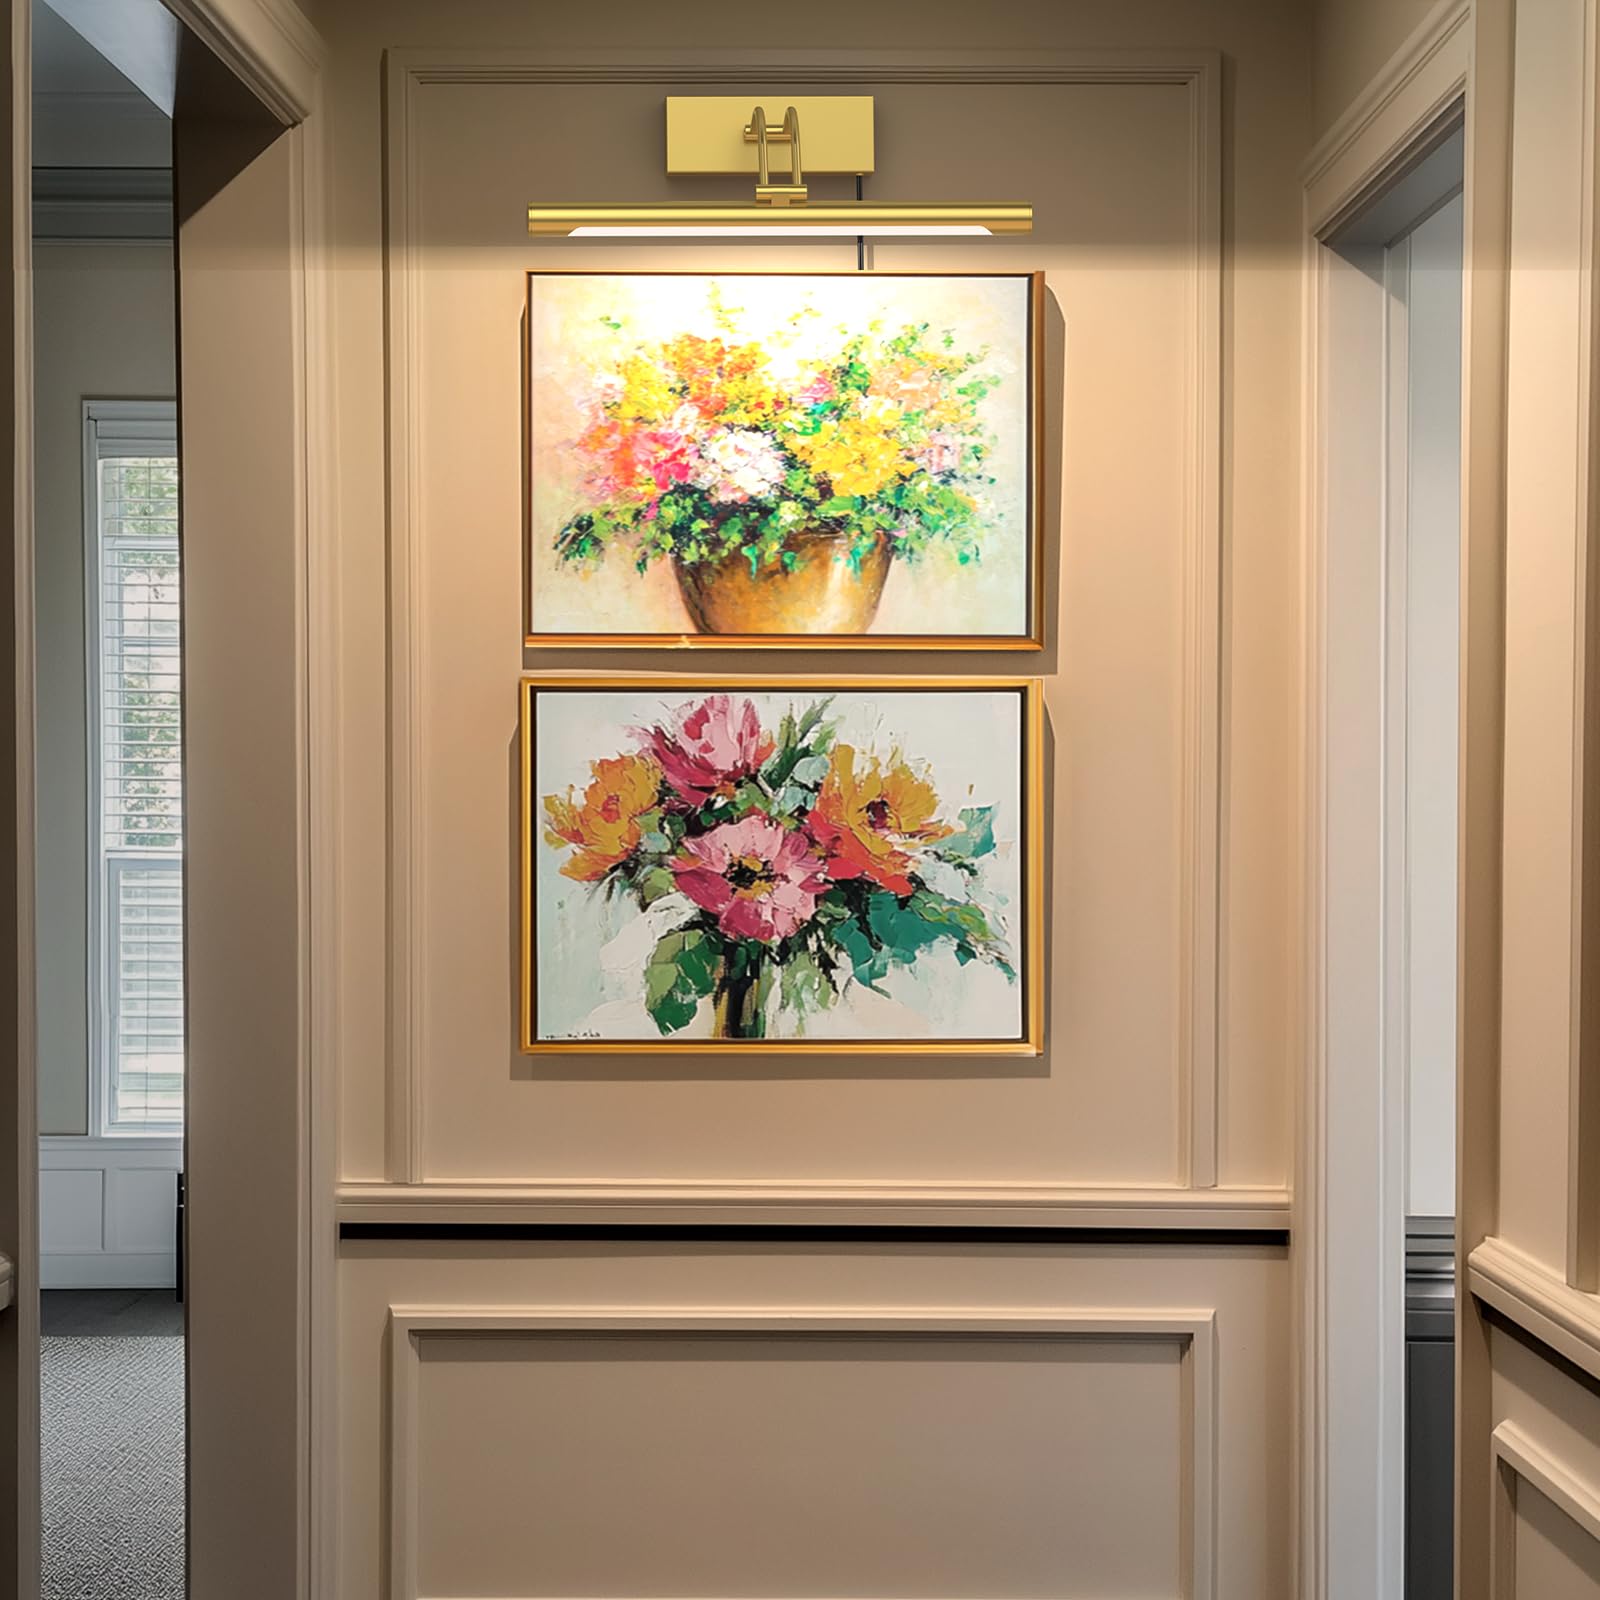
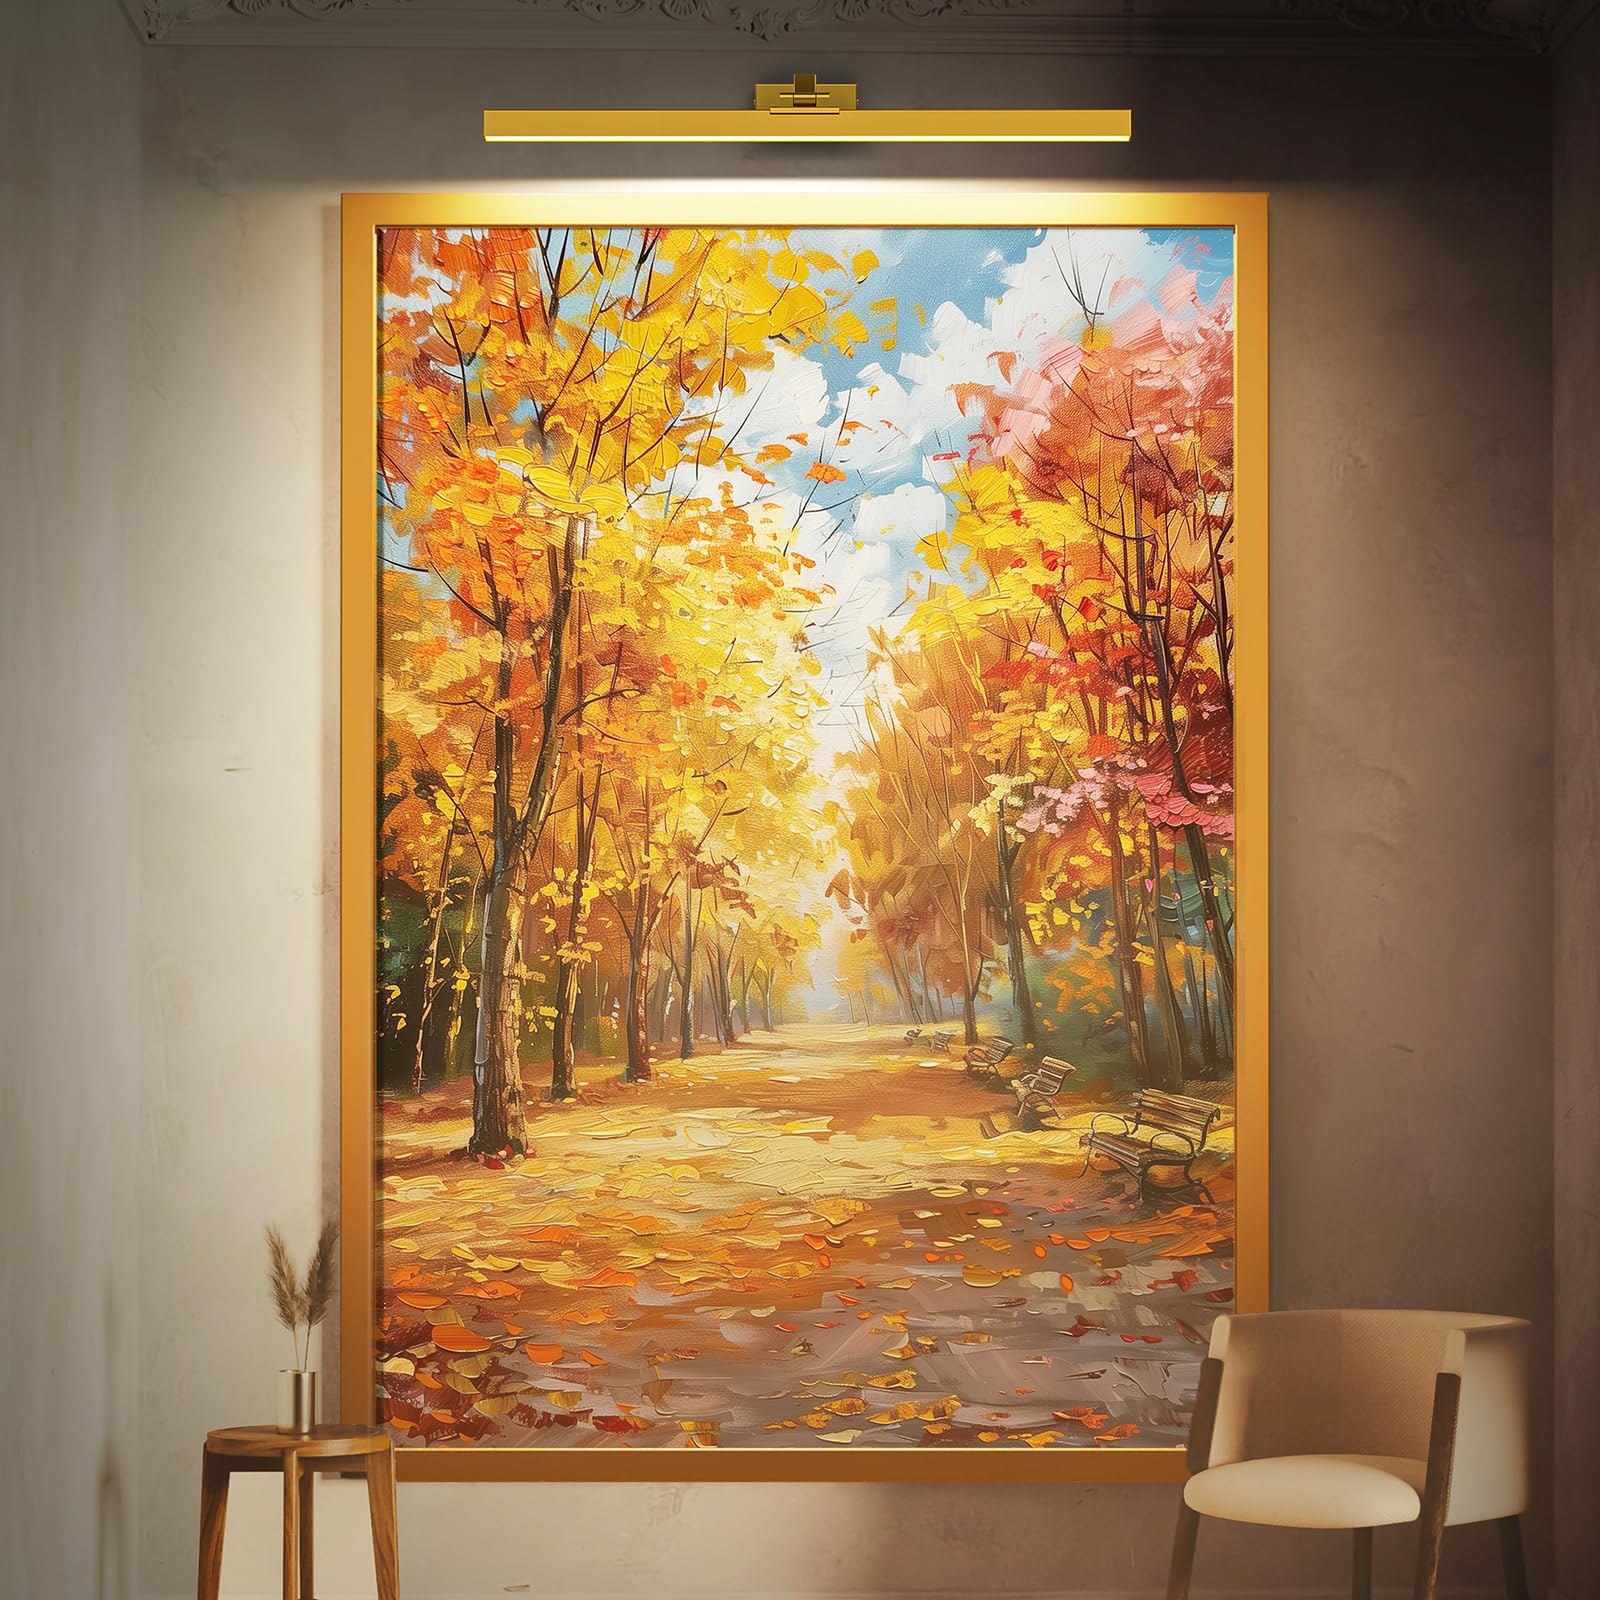
- Versatile Placement: Perfect for bedsides, sofas, desks, hallways, or vanity mirrors.
❓ Frequently Asked Questions (FAQ)
Q: Can I install this without an electrician?
A: Yes! The plug-in version requires zero electrical skills. Hardwiring is DIY-friendly if you’re comfortable with basic wiring and follow safety steps.
Q: What bulb should I use?
A: Standard E26 base. LED recommended (A19 shape, 2700K–3000K for warm light, 800–1100 lumens).
Q: How do I clean or maintain the sconce?
A: Dust with microfiber cloth. Tighten screws annually. Replace bulbs as needed — no special maintenance.
Q: Can I paint the sconce a different color?
A: Yes! Lightly sand and use spray paint made for metal (e.g., Rust-Oleum). Avoid painting moving joints.
Q: Is this sconce dimmable?
A: Yes — if you use a dimmable bulb and plug into a dimmer switch or smart outlet.
Share